Creating a Space
A space is your 3D world on Portals. It is where you place items, shape the environment, build interactive experiences, and invite players. Portals runs in your browser, so you can start creating without installing a separate editor or deployment tool.
Before You Begin
Before creating your first space, make sure you have:
- A Portals creator account
- A browser that supports WebGL (Chrome or Edge are good choices)
- A rough idea of the kind of experience you want to build; a template can give you a useful starting point
Create a New Space
- Sign in to Portals and open your Spaces or creator dashboard.
- Choose Create New to start a new space.
- Pick the template that is closest to the world you want to make. Templates provide a starting environment and starter items; you can continue customizing the space after it is created.
- Give the space a clear, player-friendly name. This name is shown in your creator dashboard and can be updated later.
- Confirm Create New Space. Portals opens the new space when it is ready.
Enter Build Mode
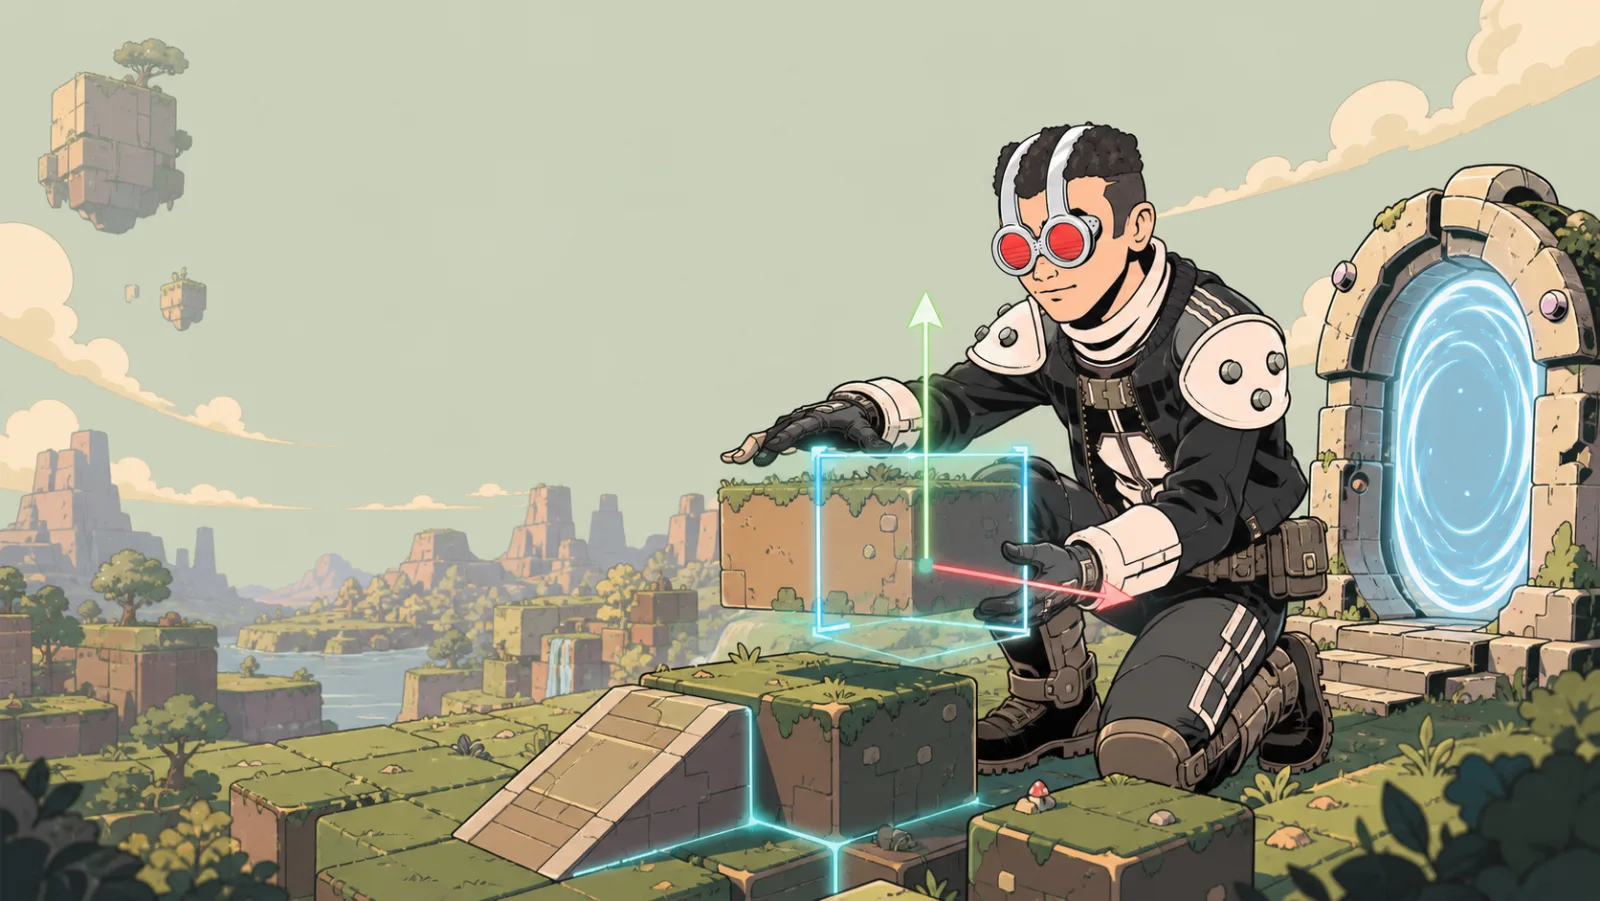
Open the new space in the builder, then enter Build Mode from the builder toolbar. In Build Mode you can:
- Place items from the building inventory.
- Move, rotate, and scale objects with the transform controls.
- Configure the selected item in the inspector.
- Test your changes in play mode whenever you need to check the player experience.
Configure the Basics
After you create a space, use the space dashboard and Space Options to set up the experience:
- General — the space name, description, thumbnail, and visibility.
- Building — building permissions, physics, and item-related settings.
- Movement — player speed, jump height, and gravity.
- Voice & Comms — voice chat and communication settings.
- User Privileges — who can build, moderate, or administer the space.
See General Space Options for the available settings.
Next Steps
- Build Mode & Placing Items — learn the core builder workflow.
- Video Tutorials — follow guided walkthroughs.
- Build Blocks — start exploring the items you can add to your space.