Camera
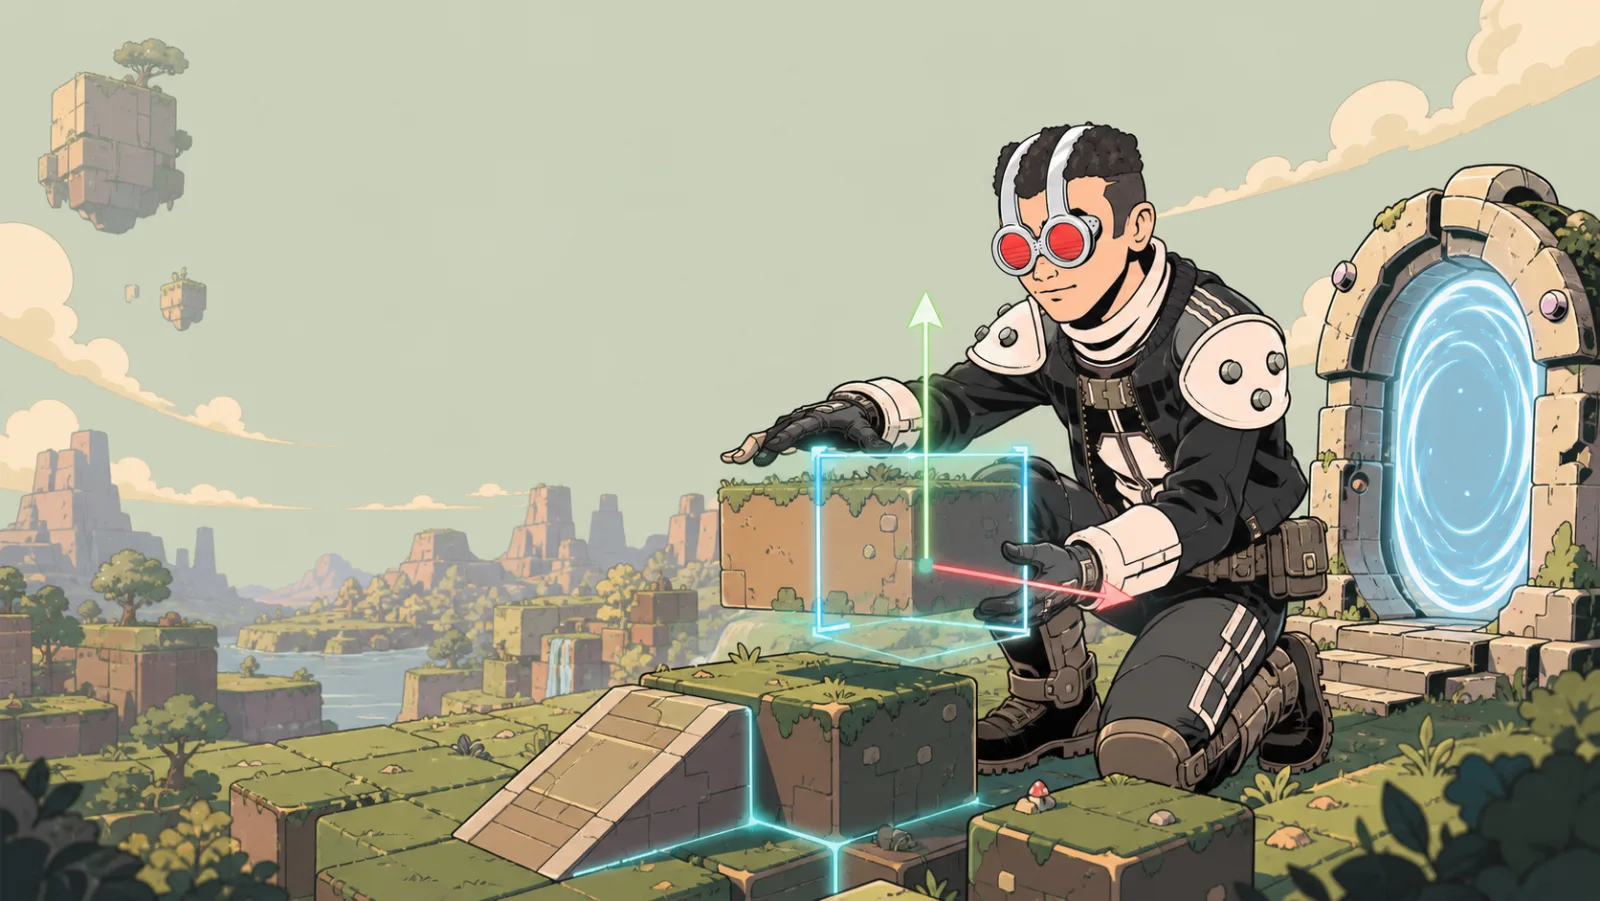
The Camera tool places a camera item in the world. Its unique State Name creates the camera state that a no-code camera switch can use.
Add a camera viewpoint
- Open the Build Mode Inventory and select Camera.
- Place the camera at the desired location.
- Use the transform controls to set its position and rotation.
- In the camera item's settings, give its State Name a descriptive value,
such as
lobby-overvieworfinish-line. - Use that same state name in Change Camera State when an interaction should switch the player's view.
- Test the view before using it in a larger interaction.
The camera item can be referenced by your no-code interactions when you want to switch a player's view at a particular moment.
Camera item vs. Camera settings
These features serve different camera needs:
- A Camera item is a placed fixed viewpoint. Its unique State Name creates the state that Change Camera State uses.
- Settings > Camera manages room-level camera states and the current or default camera setup.
Use the Camera item's exact State Name in the effect. Do not create a separate room-level camera state with the same name: camera state names must be unique. Placing a Camera item by itself does not switch a player's view.
Helpful naming habit
Name viewpoints by their player-facing purpose, not by the order you made
them. arena-entrance is easier to find later than camera-3.
See Camera Settings for the room-level setup.