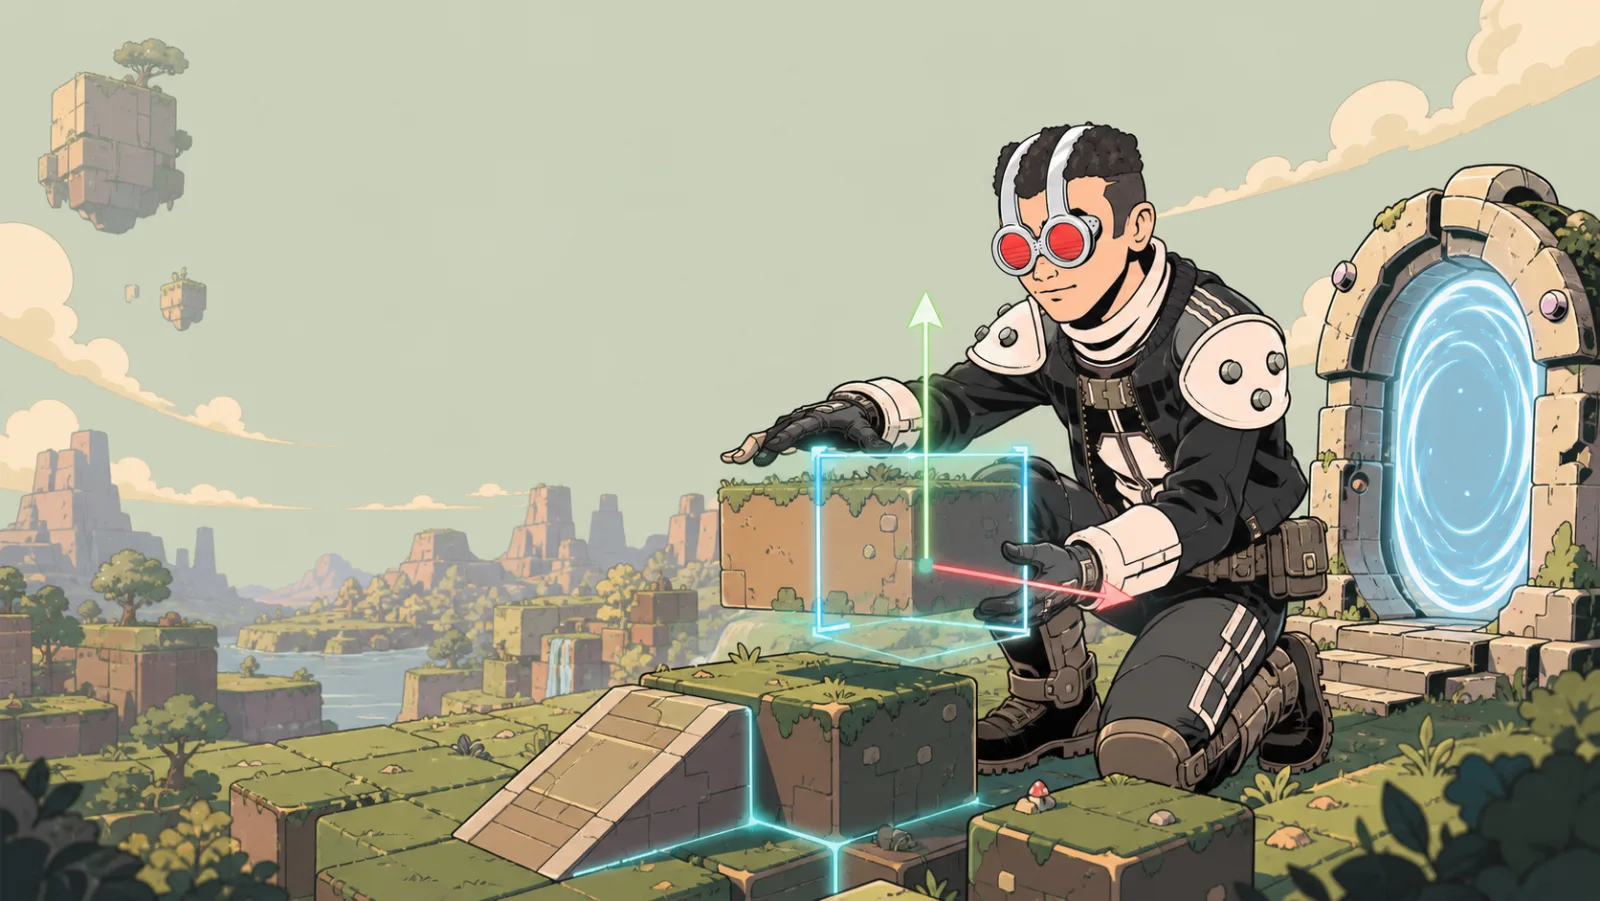
Use Build Mode
Build mode is where you turn a template or empty scene into a playable place. The most reliable workflow is simple: place one thing, position it, configure it, then test it before moving on.
Place an item
- Open the Items area in the creator rail.
- Choose the item you want to add.
- Place it in the scene where players can reach or see it.
- Select it again if you need to change its settings.
For a first test, place one item near your intended spawn point. It is easier to tell whether it works when you do not have to search a large scene for it.
Move and shape an item
Use the active transform tool for the job:
- Grab — select or handle the item in the scene.
- Move — change where it sits.
- 3D Rotate — turn it to face the right direction.
- Scale — make it larger or smaller.
After moving a collision-sensitive object such as a wall, doorway, or platform, walk around it as a player. A model can look correct from the editor camera while still blocking or confusing a player.
Configure the selected item
Many items expose their own settings after placement. A portal needs a destination; a spawn point needs a purposeful location; a trigger needs the behavior it should activate. Configure the item before you duplicate it, so later copies start from a known-good setup.
For a resizable shape or a standard imported model, start with Item Settings. It explains which settings belong to a shape, which belong to a GLB, and when persistent physics is appropriate.
Build with player scale in mind
- Place signs and interactable objects where an avatar can see them.
- Leave enough room around the player start to move immediately.
- Avoid hiding the only route behind decorative geometry.
- Put a visible landmark in the player’s first view.
Test often
Switch out of building and try the route as a player after each meaningful change. If you add a trigger area, cross into it from outside; loading inside the area is not the same as entering it.
For a focused first pass, follow First-game checklist.