Portal
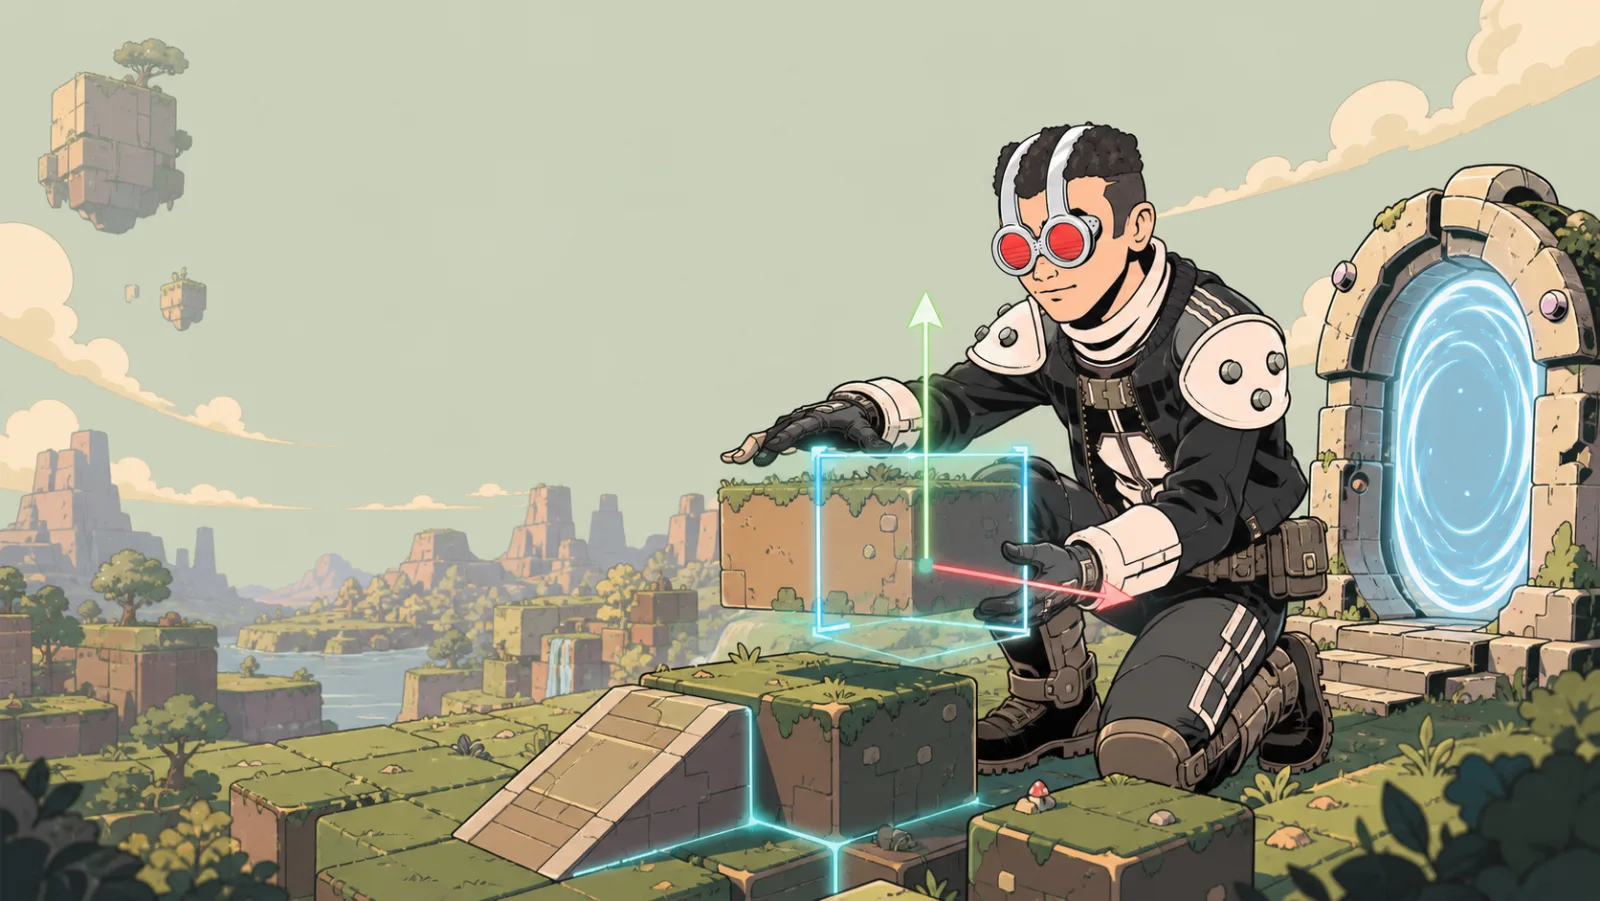
A Portal sends a player to a destination room or to a named spawn point. Use it to connect a lobby to a level, link two areas of one game, or direct a player to another Portals destination.
Connect a portal
- Place a Portal from Tools.
- Select it and open its settings.
- Paste a Portals destination link into Destination.
- Optionally set Spawn Name to choose a named spawn at that destination.
- Decide whether the portal should activate automatically or show a player prompt first.
- Test it from a player account before publishing.
If you need a named destination, create a Spawn Point there first. A name must match exactly for the portal to use it.
Choose how players activate it
- Auto Teleport moves a player as soon as they enter the portal area.
- When Auto Teleport is off, the player sees an interaction prompt. Use Custom Message to make the action clear, for example “enter the arena.”
Automatic portals are useful for a one-way level transition. Prompted portals are better when a player should have a chance to read a sign or finish an activity before leaving.
Test checklist
- Does the destination link open the intended room?
- If you used a Spawn Name, does the player arrive at the expected point?
- Is the portal large enough to be easy to enter but not so large that a player activates it accidentally?
- Is the destination safe for a player who arrives while moving?