Tools Overview
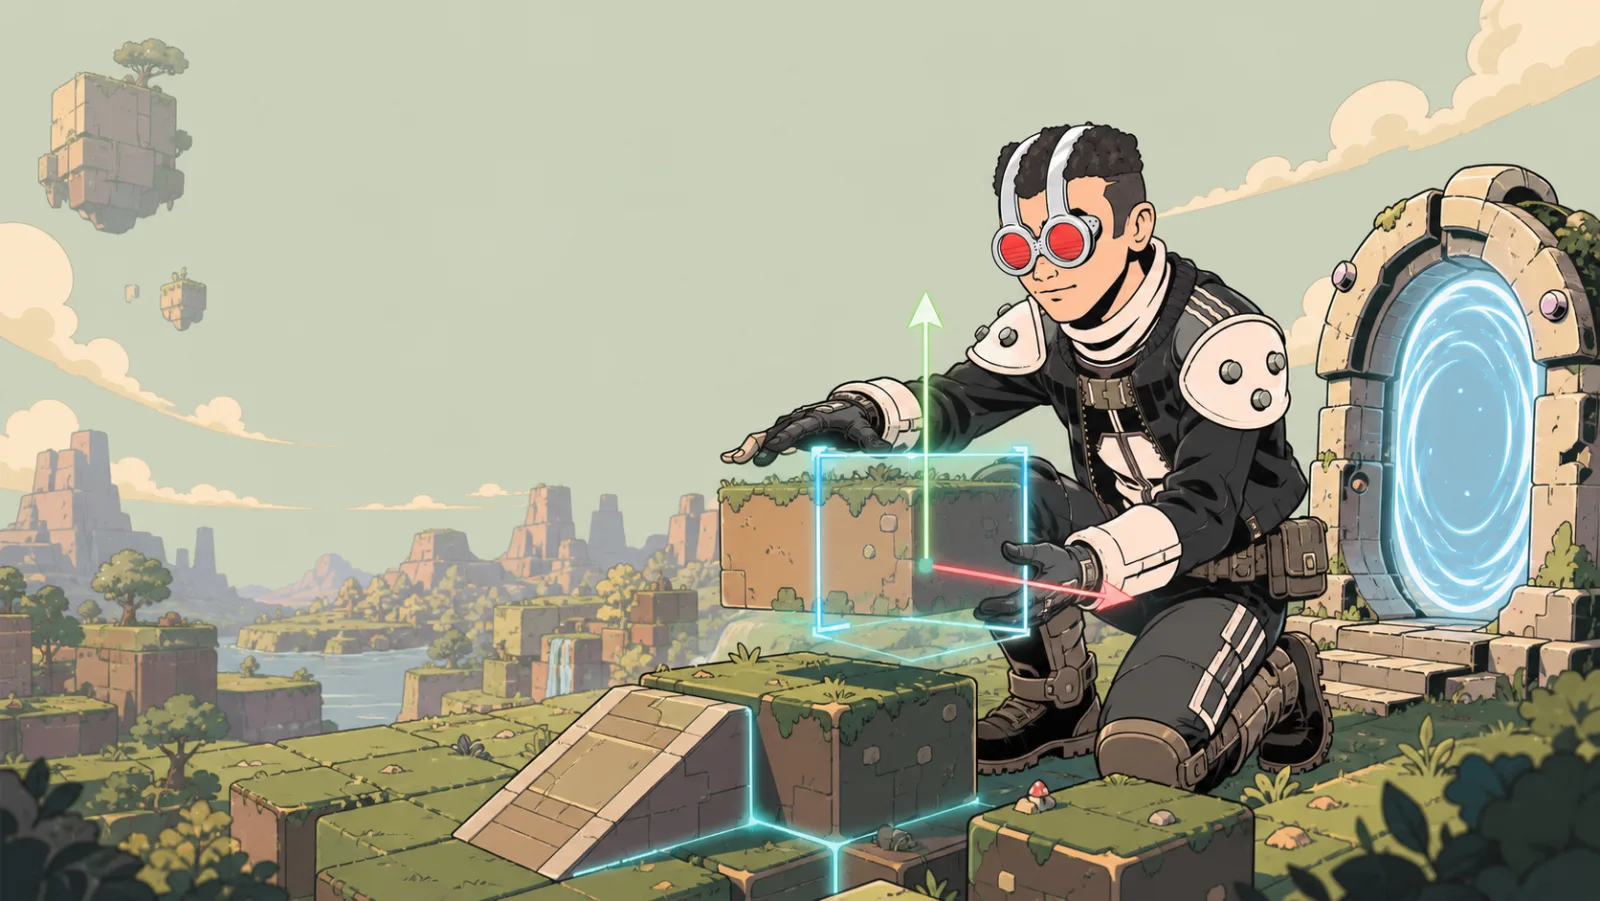
Tools is the built-in catalog for making a space. Choose a tool, configure any required content, then place it using the normal Build Mode workflow.
Pick a tool by what you want players to notice
| If you want to add... | Start with... |
|---|---|
| Artwork, a moving image, a screen, or words | Image, Video, Billboard, Screenshare, or Text |
| A model, prop, shape, or visual effect | Custom GLB, Build Block, Elemental, Vehicle, or Particles and VFX |
| A destination or viewpoint | Spawn Point, Portal, or Camera |
| Light or atmosphere | Light Source, Blink Light, Spotlight, or Scene Environment |
| A player action or game object | Trigger Cube, Jump Pad, Collectible, Leaderboard, Guns, NPC, Combat NPC, or Destructible |
A reliable tool workflow
- Open Tools.
- Choose the tool that best matches the result you want.
- Add its required content, such as an image, video, model, or name.
- Place it on a valid surface in the scene.
- Select it and adjust its transform and item-specific settings.
- Test it from a player's point of view.
Tool settings are intentionally different. An Image needs a media source; a Portal needs a destination; a light needs lighting values. Do not expect every control to appear for every item. For a resizable shape or a standard imported GLB after placement, use Item Settings to choose the correct material, collision, or persistent-physics controls.
Build in small passes
For a first pass, make the scene readable with a few shapes, lights, and signs. Add media, movement, and interactions after the layout is working. That makes it much easier to see which change affects the player experience.
Use Assets and Performance before importing media or a 3D model. For no-code behavior, continue to Tasks from the creator rail after the placed item is ready.