Interactive Studio
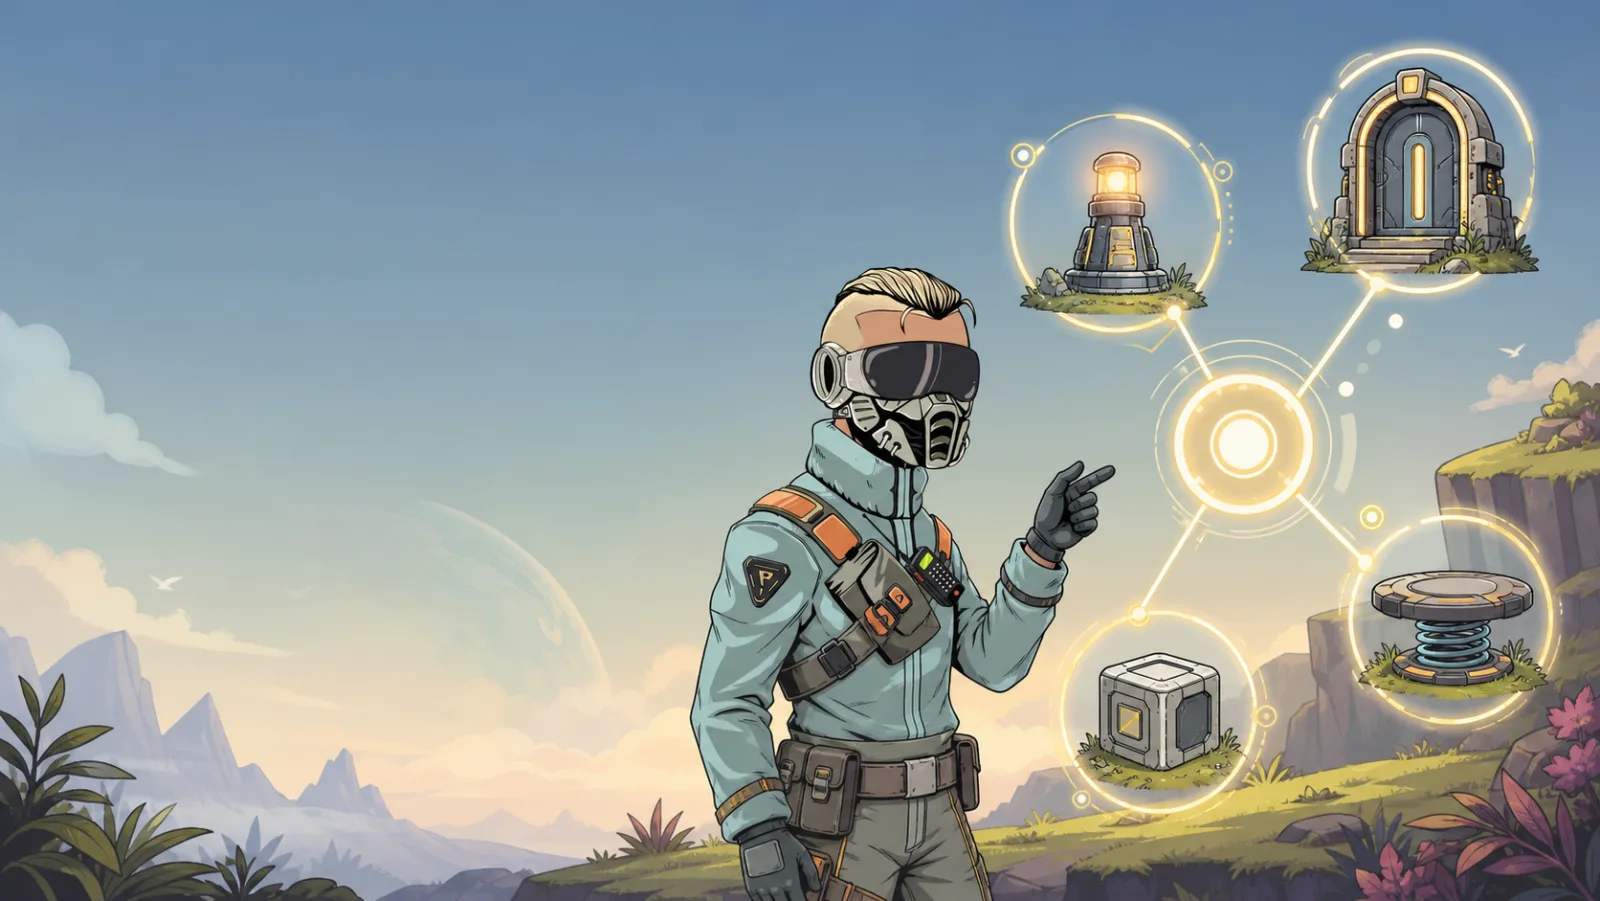
Interactive Studio is Portals' no-code system for making a space react to players. Use it for a simple door, a repeatable race, an NPC conversation, a score challenge, or a guided tour.
An interaction has three parts:
- A task remembers where that interaction is in its flow.
- A trigger changes the task when something happens, such as a click, a player entering a zone, or a timer ending.
- An effect changes the world while the task is in a chosen state, such as playing an animation, showing an object, opening an iframe, or updating a score.
Start in Build Mode, select an item, and open Space Options → Tasks. The menu only shows the triggers and effects the selected item supports.
The task state model
Think of every task as a three-position switch:
| State | Meaning | Typical use |
|---|---|---|
| Not Active | The interaction has not started, or has been reset. | Door closed; collectible available; race waiting. |
| Active | The interaction is underway. | Door open; conversation in progress; timer running. |
| Completed | The interaction has finished. | Quest done; reward revealed; race finished. |
Tasks start in Not Active. Effects can be attached to any state, which lets one task describe the whole before/during/after experience.
Legal transitions
In a trigger, choose Changes From and To. The current runtime supports the following transitions:
| From | To |
|---|---|
| Any | Not Active, Active, or Completed |
| Not Active | Active or Completed |
| Active | Not Active or Completed |
| Completed | Not Active or Active |
Use an exact source state when the action should work only at one point in the flow. A trigger whose source does not match the current state does nothing; that is what keeps a completed interaction from firing again by accident.
Build one interaction at a time
- Name the outcome. Decide what a player should see at the beginning, during the interaction, and at the end.
- Create one task. Give it a short, specific name, such as
Library DoororRace Start. - Choose its scope. Use Single Player Tasks for a private interaction or Multiplayer Tasks for one shared room state.
- Add the first trigger. Select the item that should listen, connect it to the task, and set source and destination states.
- Add visible effects. Select the item that should change, then attach effects to the relevant state.
- Test one path. Start from Not Active, perform the action, and verify the expected state before adding the next step.
- Inspect Node View. It is the fastest way to find a trigger or effect that points at the wrong task.
Item compatibility
Interactive Studio is item-aware. A Trigger Zone provides entry and exit events; an animated imported model offers animation options; a vehicle offers vehicle options. If an option is absent, select the item that performs the action rather than the item a player merely sees.
- Use a Trigger Zone for player entry, exit, and physics-item events.
- Use an animated import for animation effects and animation-finished triggers.
- Use a vehicle for vehicle-entered and vehicle-exited triggers.
- For global events such as timers or player movement, attach the trigger through an item that has the Tasks panel; the task connection is what matters.
Choose the right task
- Single Player: each player has an independent state. Best for a personal door, hint, collectible, or quest.
- Multiplayer: all players share the same state. Best for a gate, shared match state, or room-wide event.
- Persistent: state is kept between visits. This is the default and suits one-time quests.
- Non-Persistent: state starts fresh on a future visit. Use it for repeatable games and temporary interactions.
- Dependent: a task cannot enter Active or Completed until its prerequisite is Completed.
- Quest-visible: a task appears in the player's quest log.
No-code recipes
Click to open, exit to close door
Create Library Door as single-player if each player should see their own door state, or multiplayer if everyone should share it.
- Select the door and add Click:
Not Active → Active. - Put a Trigger Zone just past the doorway and add User Exit Trigger:
Active → Not Active. - On the door, add the open animation for Active and the closed animation (or reverse direction) for Not Active.
- Test from Not Active: click, walk through, then leave the zone.
The door needs an animation-capable imported model; the exit step needs a Trigger Zone. See Click, User Exit Trigger, and Play Animation Once.
Collectible quest
- Create a single-player task named
Find Relicand make it visible if players should track it. - On the collectible, add Item Collected:
Not Active → Completed. - Add a Show Object effect on Completed to reveal a sign, exit, or reward display.
- Leave persistence on for one-time progress, or use Non-Persistent Tasks for a later fresh start.
Timer or race finish
- Create a task called
Raceand choose shared scope only when players share the same round. - On Active, use Start Timer with a clear name such as
race-clock. - Use Countdown Timer Finished with that exact name to move
Active → Completed. - On Completed, use Stop Timer, reveal the finish state, or post the score after testing the value flow.
Score and leaderboard
- Use Update Value to set or add a numeric value such as
score. - Use Value Updated to react when that value reaches a chosen comparison.
- Add Post Score to Leaderboard after the value is ready to submit.
- Add Open Leaderboard to a button or finish state so players can check results.
Use the same value label everywhere. Start with a test value before publishing the flow.
NPC dialogue
- Create a task such as
Guide Conversation. - On the NPC, add Click:
Not Active → Active. - Add an Iframe effect for Active. Choose NPC will animate only when the dialogue setup supports it.
- Add Close Iframe on Completed or reset the task when the conversation ends.
Combat encounter
- Create a task such as
Arena Round. - Use gun triggers on a gun, and player-health or NPC effects only when those options appear for the selected item.
- Use explicit transitions: start the round, react to a hit or kill, then move to Completed when the encounter ends.
- Test with another player before treating a multiplayer result as final.
Camera or side-scroller moment
- Create a task such as
Bridge Camera. - Trigger it with a zone entry, click, or another verified interaction.
- Attach Change Camera State, Change Camera Zoom, or Lock Camera to the appropriate state.
- Always add an exit or reset path using the paired effect so a player cannot remain stuck in a special camera mode.
More verified trigger options
These options are available in the current runtime and have their own reference pages in the Interactive Studio navigation.
| Trigger | Use it when | Required item or setting |
|---|---|---|
| Drag Start | You need the moment a player begins dragging, rather than a completed click. | An item that offers Drag Start, such as a building cube, nine-slice cube, imported model, or world text. |
| Hover Started / Hover Ended | A player points at or moves off an eligible object. | A compatible building cube, nine-slice cube, imported model, painting, or vehicle. |
| Collision Stopped | A collision on the selected item ends. | A compatible physics-enabled building cube, nine-slice cube, imported model, or vehicle. |
| Animation Stopped | An animation reaches the configured point. | An imported animated model, addressable item, or vehicle that offers it. |
| Physics Item Enter / Exit Trigger | A physics item enters or leaves a Trigger Zone. | Trigger Zone; optional Physics Item Label filters the item, and blank matches any physics item. |
| Countdown Timer Finished | A named countdown reaches its end. | The exact timer name used by Start Timer. |
| On Variable Change | A named value changes. | A value label updated with Update Value or Update String Value. |
| Player Revived / Microphone Unmuted | A local player is revived or turns on their microphone. | Attach through the Tasks panel; no special scene item is required. |
| Vehicle Entered / Vehicle Exited | A player gets into or leaves a vehicle. | A vehicle item. |
Troubleshooting checklist
- Nothing happens: make sure the trigger and effect point to the same task, and confirm the trigger's source matches the current state.
- The option is missing: select the item that supports the behavior.
- The effect happens for the wrong people: check whether the task should be single-player or multiplayer.
- It worked once but not again: the task may still be Completed. Add an intentional reset for repeatable interactions.
- A zone never fires: make sure the player crosses the Trigger Zone rather than merely walking near it.
- The flow is hard to inspect: open Node View and trace item → trigger → task → effect.
Next steps
- Single Player Tasks
- Multiplayer Tasks
- Node View
- Browse the trigger and effect references in the Interactive Studio navigation.